
How to install a Brass Union Ball Valve?
 Jun 19, 2025|
 Hey there! I'm a supplier of Brass Union Ball Valves, and today I'm gonna walk you through the process of installing one. Whether you're a DIY enthusiast or a professional plumber, this guide will help you get the job done right.
Tools and Materials You'll Need
First things first, let's talk about what you'll need to install a Brass Union Ball Valve. Here's a quick list:
- Brass Union Ball Valve: Of course, you'll need the valve itself. Make sure you choose the right size and type for your application.
- Pipe Wrenches: You'll need a couple of pipe wrenches to tighten the connections.
- Teflon Tape: This helps create a watertight seal between the threads.
- Pipe Cutters: If you need to cut the pipes to fit the valve, a pipe cutter will come in handy.
- Measuring Tape: To ensure the pipes are cut to the correct length.
- Safety Glasses and Gloves: Safety first! Protect your eyes and hands from any potential hazards.
Step 1: Shut Off the Water Supply
Before you start installing the valve, you need to shut off the water supply to the area where you'll be working. This will prevent any water from leaking out while you're making the connections. Locate the main water shut-off valve for your house or the specific area you're working on and turn it off.
Step 2: Drain the Pipes
Once the water supply is shut off, you need to drain the pipes to remove any remaining water. Open a faucet downstream from the valve to let the water drain out. You may also want to use a bucket to catch any water that may drip out.
Step 3: Measure and Cut the Pipes
Measure the length of the pipes where you'll be installing the valve. Use a measuring tape to get an accurate measurement, and then use a pipe cutter to cut the pipes to the correct length. Make sure the cuts are clean and straight.

Step 4: Apply Teflon Tape
Wrap Teflon tape around the male threads of the pipes. This will help create a watertight seal between the pipes and the valve. Make sure you wrap the tape in the direction of the threads, and overlap the tape slightly with each turn.
Step 5: Install the Valve
Now it's time to install the valve. Insert the valve into the pipes, and hand-tighten the connections. Make sure the valve is aligned properly, and that the handle is in the open position. Then, use a pipe wrench to tighten the connections further. Be careful not to overtighten the connections, as this can damage the threads.
Step 6: Check for Leaks
Once the valve is installed, turn on the water supply and check for any leaks. Look for any water dripping from the connections or around the valve. If you notice any leaks, tighten the connections further or apply more Teflon tape.
Step 7: Test the Valve
After you've checked for leaks, test the valve to make sure it's working properly. Turn the handle of the valve to the closed position, and then open a faucet downstream from the valve. If the water stops flowing, the valve is working correctly. Then, turn the handle of the valve to the open position, and the water should start flowing again.
Tips and Tricks
- Choose the Right Valve: Make sure you choose the right size and type of valve for your application. Consider the flow rate, pressure, and temperature of the water in your system.
- Use the Right Tools: Using the right tools will make the installation process easier and more efficient. Make sure you have all the necessary tools before you start working.
- Follow the Manufacturer's Instructions: Every valve is different, so make sure you follow the manufacturer's instructions for installation and maintenance.
- Be Careful with the Pipe Wrenches: Pipe wrenches can be powerful tools, so be careful not to overtighten the connections or damage the pipes.
- Consider Using a Professional: If you're not comfortable installing the valve yourself, consider hiring a professional plumber. They have the experience and expertise to install the valve correctly and safely.
Related Products
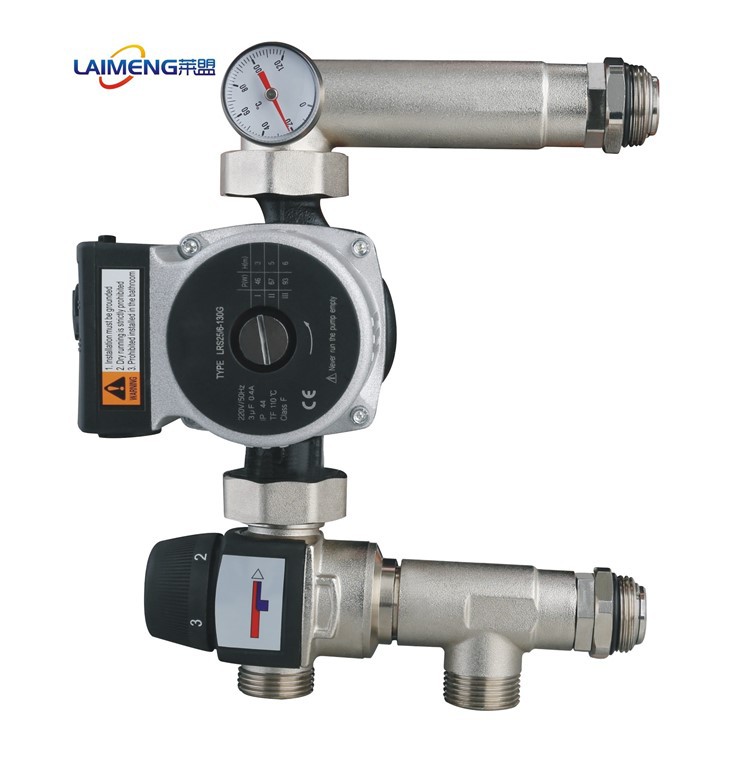
If you're looking for other plumbing products, we also offer a variety of related products, such as Water Mixing Pump With Pump, CW617N Brass Pressure Compensation Valve, and Thermal-Electric Actuator Water Manifold. These products are designed to work together to provide a complete plumbing solution for your home or business.
Conclusion
Installing a Brass Union Ball Valve is a relatively simple process that can be done by anyone with a little bit of knowledge and the right tools. By following these steps and tips, you can install the valve correctly and safely, and ensure that it works properly for years to come. If you have any questions or need further assistance, don't hesitate to contact us. We're here to help you with all your plumbing needs.
If you're interested in purchasing Brass Union Ball Valves or any of our other products, please feel free to reach out to us for a quote. We offer competitive prices, high-quality products, and excellent customer service. Let's start a conversation about your plumbing requirements and find the best solutions for you.
References
- Plumbing Installation Manuals
- Online Plumbing Forums
- Manufacturer's Product Specifications